
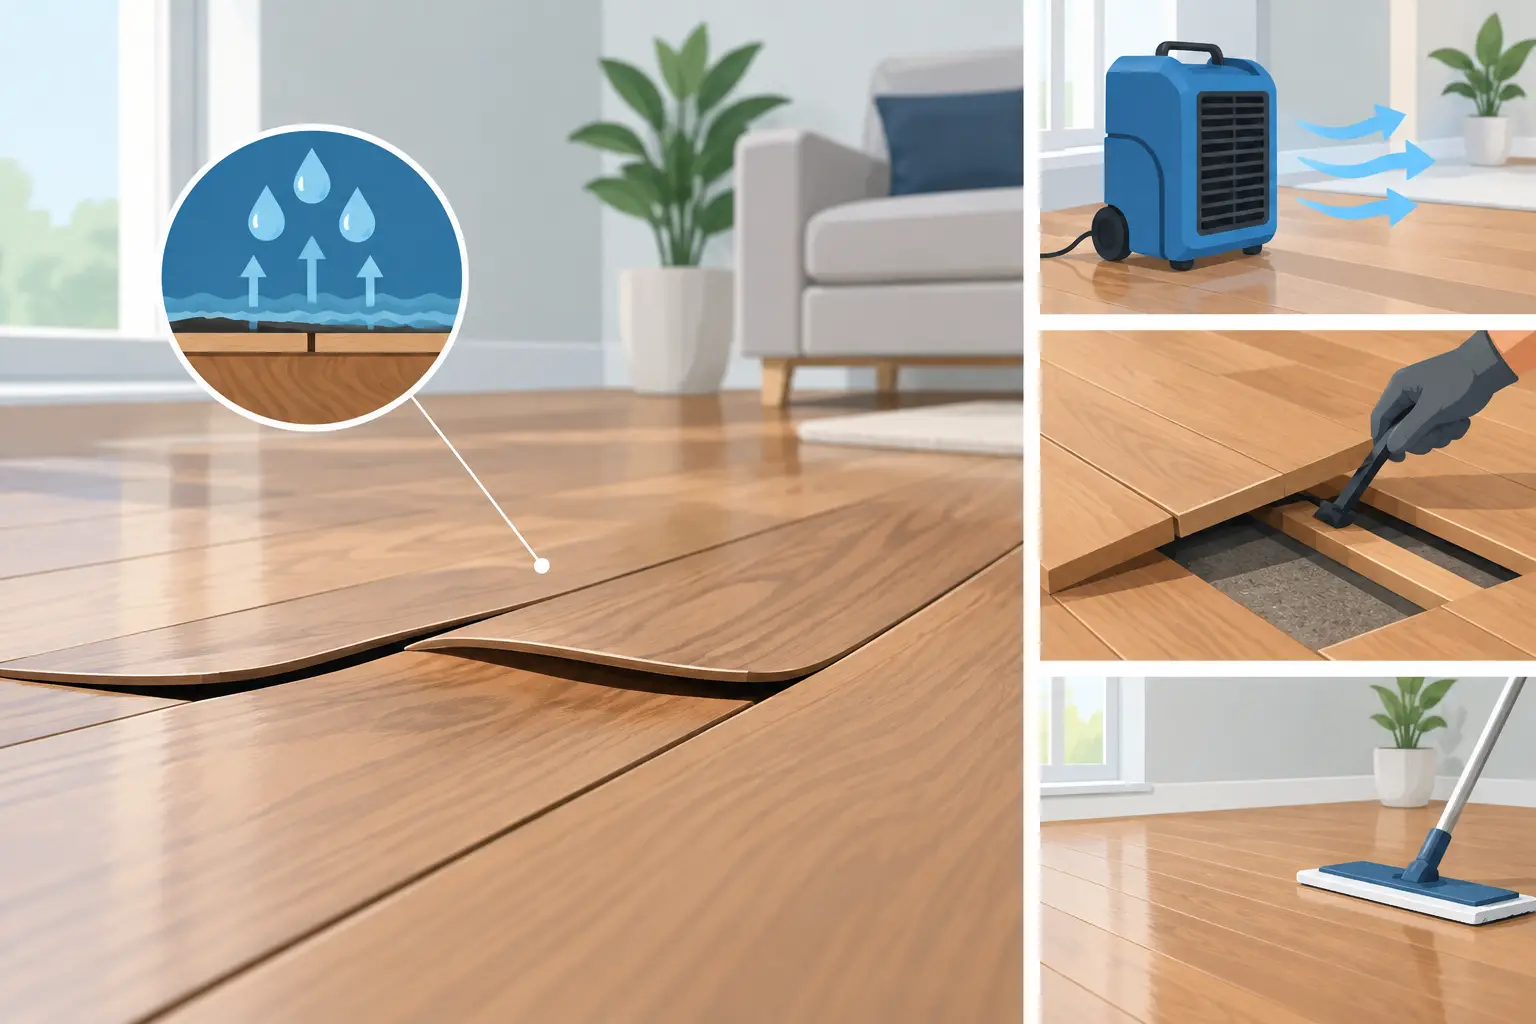
A hardwood floor can look perfectly flat one week and develop raised board edges the next. If you are asking why floors cup, moisture is usually the answer. Cupping happens when wood absorbs more moisture from below than from above, causing the edges of each board to rise higher than the center. The right response is not always an immediate repair. First, the source of the moisture has to be found and controlled.
What Floor Cupping Looks Like
A cupped floor has a shallow, concave shape across individual boards. Run your hand across the surface and you may feel the edges sitting higher than the middle. In stronger cases, the floor can look rippled, show wider seams, or develop a noticeable uneven feel underfoot.
Cupping is different from general wear or a floor that simply needs refinishing. It is a movement issue inside the wood. Hardwood is hygroscopic, meaning it takes on and releases moisture as conditions around it change. When one side of a board gets wetter than the other, it expands unevenly and bends.
The direction of the distortion matters. Raised edges and a lower center indicate cupping. A raised center with lower edges is called crowning. Both are moisture-related problems, but they can point to different conditions and should not be treated the same way.
Why Floors Cup: The Common Causes
The most common cause is excessive moisture below the flooring. In homes with crawl spaces, that may mean damp soil, poor ventilation, missing ground coverage, plumbing leaks, or standing water after heavy rain. In a slab-on-grade home, moisture can migrate upward through concrete if the slab was not properly tested or protected before installation.
Indoor humidity can also contribute. Atlanta-area summers bring long stretches of heat and humidity, and a home that stays closed up with limited air conditioning can put real stress on hardwood. This is especially true after a renovation, when painting, drywall work, or other wet trades add moisture to the indoor air.
Water events are another clear trigger. A leaking refrigerator line, dishwasher connection, sink supply line, toilet seal, or exterior door leak can wet flooring from above or below. Even a small leak can create major problems if it continues unnoticed behind cabinets, under an appliance, or along a wall.
Installation conditions matter as well. Hardwood needs time to acclimate to the home before installation, and the subfloor must be dry enough for the product being installed. If flooring goes down before moisture levels are balanced, boards may cup as they adjust. Skipping moisture barriers where they are required, installing over a wet subfloor, or using the wrong product for the space can create the same result.
Not every cupped floor comes from one dramatic event. Sometimes it is the combined effect of a humid crawl space, inconsistent heating and cooling, and a floor that has been exposed to seasonal moisture changes for years.
Do Not Sand a Cupped Hardwood Floor Too Soon
Sanding may seem like the obvious way to flatten raised edges, but sanding a floor while it is still wet is one of the most expensive mistakes a homeowner can make. Once the moisture condition improves, the boards can flatten naturally. If they were sanded while cupped, they may later crown, leaving the centers higher than the edges.
The first priority is stabilization. Repair the leak, improve drainage, address crawl-space moisture, or correct the humidity problem. Then give the wood time to dry and return toward its normal moisture content. Depending on the cause, the wood species, the finish, and the severity of the movement, that process may take weeks or longer.
A professional assessment helps determine whether the floor is still moving or has reached a stable condition. Moisture meters can compare readings in the flooring, subfloor, and nearby materials. That information is far more useful than guessing based on appearance alone.
How to Respond When You Notice Cupping
Start by looking for active water. Check under sinks and appliances, around toilets, near exterior doors, and at any areas where the floor meets a wall. If the cupping is concentrated in one location, the cause may be close by. A broad area of cupping often points to humidity, subfloor moisture, or crawl-space conditions.
If water is present, stop the source and dry the area promptly. Fans and dehumidifiers can help with surface drying, but they do not replace a repair when water is still entering the home. If the flooring is wet after a leak or flooding event, document the damage and bring in qualified help before removing boards or making cosmetic repairs.
Maintain consistent indoor conditions while the floor dries. Avoid shutting off air conditioning during humid weather, and do not try to force-dry the floor with excessive heat. Rapid drying can create additional stress in the wood, including cracks, gaps, or splitting.
For a crawl space, the solution may involve improving drainage around the foundation, installing or repairing a vapor barrier, sealing moisture entry points, or conditioning the space. The correct approach depends on the home. More ventilation is not automatically the answer in a humid climate, because outside air can bring in more moisture.
When a Cupped Floor Can Be Saved
Many hardwood floors recover substantially once the moisture issue is resolved. Mild cupping can flatten enough that no further work is needed. Moderate cupping may leave some texture or require refinishing after the wood has fully stabilized. A solid hardwood floor often offers more repair options because it can usually be sanded and refinished when enough wear layer remains.
Severe damage is different. Boards that have permanently warped, split, loosened, blackened from water staining, or developed finish failure may need partial replacement. Engineered hardwood can also be repaired in some situations, but its thinner top layer limits how much sanding it can tolerate. Matching replacement boards to an older floor can take planning, particularly when sunlight and age have changed the original color.
A targeted repair is often the best value when damage is limited to a kitchen leak, a doorway, or one section near a plumbing fixture. If cupping is widespread and the underlying conditions have affected the entire floor, a larger renovation may make more sense. The goal is not simply to make the surface look flat. It is to leave the home with a dry, stable foundation for the finished floor.
Preventing Hardwood Floor Cupping
Prevention starts below the visible surface. Before installing or replacing hardwood, the subfloor or concrete slab should be tested for moisture, and the installation method should match the product and the home. Proper acclimation, suitable underlayment or moisture protection, and expansion space at walls all give the floor a better chance to perform as intended.
After installation, keep indoor humidity reasonably stable and address spills quickly. Use mats at exterior entrances, but avoid rubber-backed mats that can trap moisture against the finish. Keep gutters, grading, and drainage working so water moves away from the home rather than toward the foundation.
For homeowners planning a kitchen remodel or broader renovation, flooring should be part of the project planning from the start. Appliance locations, plumbing changes, exterior thresholds, and transitions to other rooms can all affect how moisture reaches the floor. Coordinating the work helps prevent a finished hardwood floor from becoming the last place a hidden water problem shows up.
A Flat Floor Starts With a Dry, Stable Home
Cupping is a warning sign, not just a cosmetic issue. Acting early can protect boards that might otherwise need replacement, while waiting too long can allow moisture to damage the subfloor and surrounding finishes. If your hardwood has started to cup, focus on finding the moisture source first. Once the home is dry and stable, the right repair path becomes much clearer.
Get a free quote from Floor's Leader.