
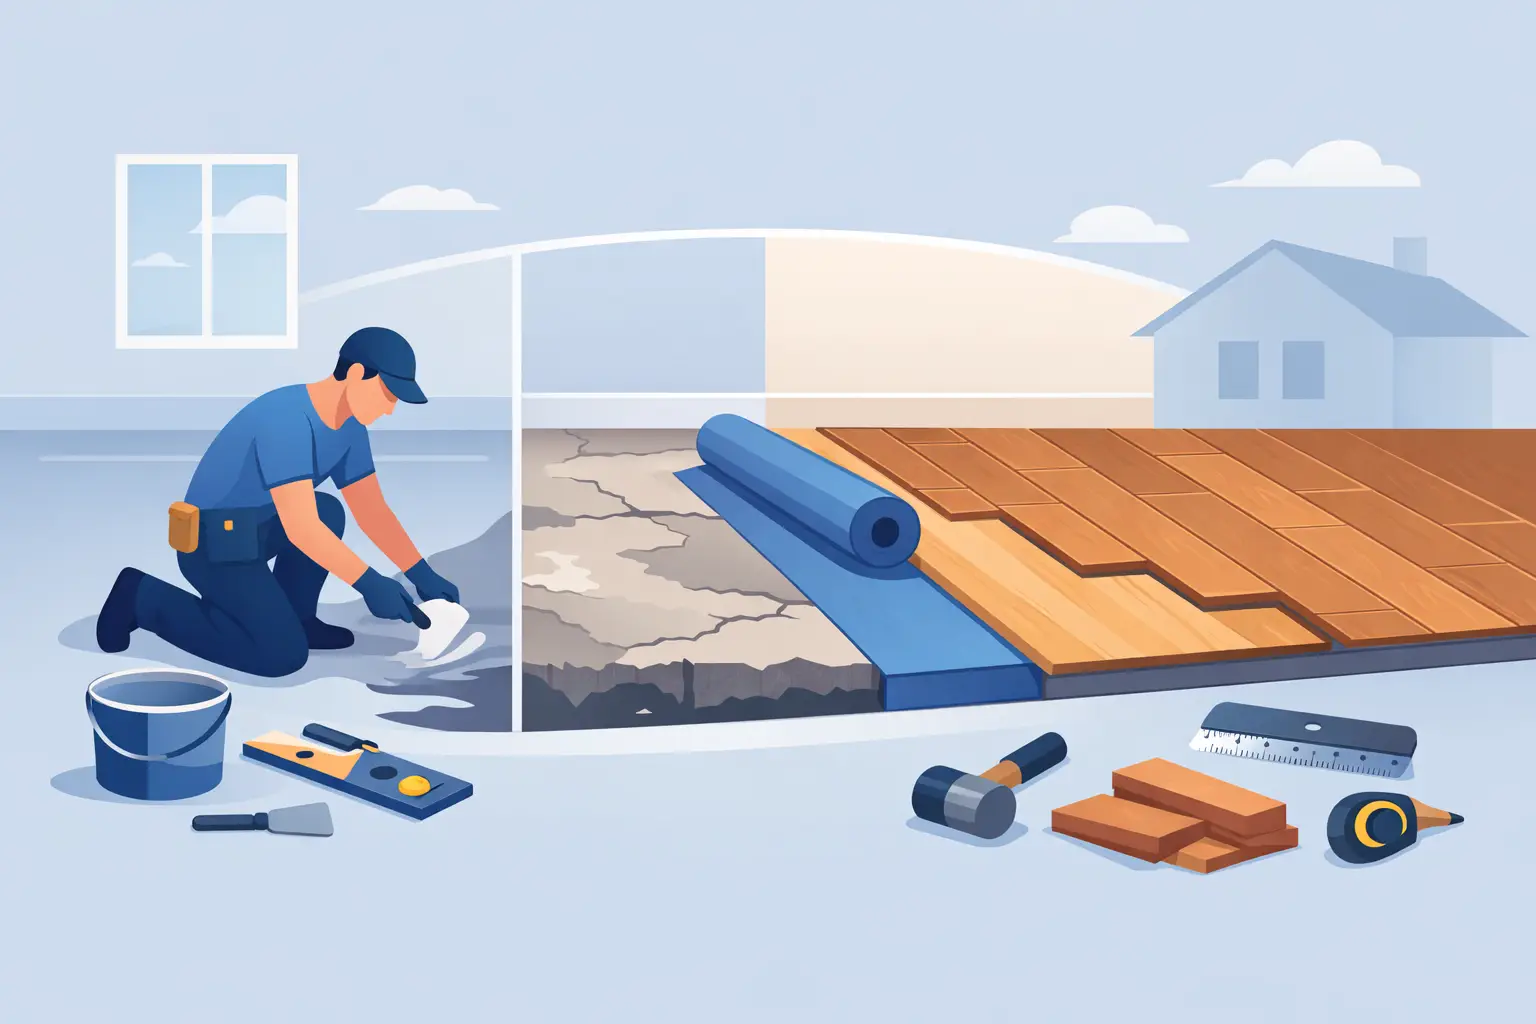
A hardwood floor can look flawless on installation day and still develop squeaks, gaps, or uneven areas later if the surface below it was rushed. Knowing how to prepare a subfloor for hardwood is what protects the investment you are making in the finished floor. The boards get the attention, but the subfloor determines how well those boards perform year after year.
For Atlanta homeowners, preparation deserves extra attention because humidity, crawlspace conditions, and older framing can all affect wood flooring. A proper inspection and repair plan before installation is far less disruptive than pulling up a new floor to correct a problem underneath.
Start With the Right Subfloor Assessment
Before removing old flooring or ordering hardwood, identify what is below the finished surface. Most wood-frame homes have plywood or oriented strand board, commonly called OSB, installed over floor joists. Older homes may have plank subfloors. Homes built on slabs may need a different hardwood system altogether.
The condition of the subfloor matters as much as the material. Walk every area slowly and listen for squeaks. Feel for soft spots, bounce, ridges, or dips. Look closely around exterior doors, kitchens, bathrooms, fireplaces, and former plumbing leaks, where moisture damage is most likely to appear.
A subfloor should be dry, clean, structurally sound, and flat enough for the hardwood product being installed. That does not mean it must be perfectly level from one side of the room to the other. A house can be slightly out of level and still receive a successful hardwood floor. The concern is abrupt high or low areas that keep boards from resting evenly and fastening securely.
If you are installing solid hardwood, check the manufacturer’s requirements before work begins. Engineered hardwood may allow more installation options, especially over concrete, but it still needs a stable, properly prepared surface.
Remove Old Flooring and Inspect What It Left Behind
Old carpet, vinyl, laminate, tile, underlayment, tack strips, staples, nails, adhesive, and debris all need to come out. Hardwood cannot compensate for a floor covered in leftover fasteners or lumps of dried adhesive.
Pull every staple and nail that sits proud of the surface. Even a small metal edge can prevent a hardwood board from sitting flat. Scrape away adhesive residue and sweep or vacuum thoroughly so you can see the actual condition of the subfloor.
Do not assume old flooring hid only cosmetic issues. Carpet can conceal pet damage, water stains, loose panels, and patched areas. Tile can hide cracked underlayment and weak sections caused by movement. If an area feels soft underfoot, investigate it instead of covering it.
Replace Damaged or Weak Sections
Water-stained wood is not always structurally damaged, but swollen, delaminated, mold-affected, or soft panels should be replaced. Plywood that has separated into layers will not hold flooring fasteners reliably. OSB that has puffed up along its seams may create visible ridges in the finished floor.
Cut out damaged material back to solid framing whenever possible. Replacement panels should match the thickness of the existing subfloor so the repaired area stays flush. If the damage came from a leak, resolve the plumbing, roof, door, or crawlspace moisture issue first. Installing new hardwood over an active moisture problem only hides it temporarily.
Secure the Subfloor Before You Level It
Squeaks are usually caused by movement. The subfloor rubs against a joist, a panel edge moves against another panel, or old fasteners have loosened over time. Hardwood installation can make those sounds harder to reach, so address them while the subfloor is exposed.
Fasten loose subfloor panels into the floor joists with appropriate screws. Screws generally hold better than adding more nails, especially in older framing. Use care around plumbing and electrical lines below the floor. When possible, confirm joist locations and the depth of the fastener before driving anything through the subfloor.
Also check panel seams. Unsupported edges, gaps caused by swelling, and uneven transitions can telegraph through a hardwood floor. A contractor may add blocking beneath a weak seam or repair a section that has lost support between joists.
If the floor has noticeable bounce, the issue may be structural rather than surface-level. Additional fastening alone will not correct undersized joists, damaged framing, or excessive spans. That type of repair should be evaluated before flooring work moves forward.
Check Flatness, Not Just Level
This is where many hardwood projects go wrong. Homeowners often hear that a subfloor needs to be level, then try to correct the entire room to a perfectly horizontal plane. For hardwood, the more relevant requirement is flatness within the tolerance specified by the flooring manufacturer.
Use a long straightedge or laser to find high spots and low areas across the room. Mark them clearly. High spots can often be sanded, planed, or corrected by repairing a raised seam. Low spots may need an approved patching or leveling compound, depending on the subfloor material and hardwood installation method.
Do not use random scraps of roofing felt, cardboard, or loose shims to fill dips. They can compress, move, and create a weak area beneath the flooring. Use products intended for flooring preparation and follow their drying and application requirements.
The right repair depends on the cause. A small dip at a panel joint may need a surface correction. A larger low area caused by sagging framing may need work from below. Correcting the visible symptom without understanding the reason can lead to recurring movement.
Test Moisture Before Hardwood Arrives
Wood flooring and moisture need to be managed together. Atlanta’s warm, humid climate makes this especially relevant in homes with crawlspaces, slab foundations, or seasonal indoor humidity swings.
Test the moisture content of the wood subfloor with a moisture meter, then compare it with the hardwood flooring and the product manufacturer’s requirements. The acceptable difference varies by species, plank width, flooring construction, and installation system. There is no single number that fits every product.
The goal is for the subfloor and hardwood to be within the recommended range before installation. If the subfloor is too wet, hardwood may absorb moisture and expand after it is installed. That can lead to cupping, crowning, edge pressure, or gaps when conditions change later.
A moisture reading should lead to an answer, not a guess. Check for damp crawlspaces, missing vapor barriers, poor drainage near the foundation, plumbing leaks, or high indoor humidity. Running the home’s HVAC system at normal living conditions before and during installation helps stabilize the environment.
Concrete Requires a Different Plan
Solid nail-down hardwood is generally not installed directly over concrete. If your home has a slab, the project may call for engineered hardwood, a moisture-control system, or a built-up subfloor designed for the selected product.
Concrete moisture testing is different from testing plywood or OSB. It should be completed using the method required by the flooring manufacturer. Skipping this step can put a new floor at risk even when the slab looks dry on the surface.
Choose the Correct Underlayment or Moisture Retarder
For nail-down hardwood over a wood subfloor, many installations use an asphalt-saturated felt or another approved moisture retarder. This layer is not a cure for a wet subfloor or crawlspace problem. Its role is to slow normal moisture movement and reduce wood-on-wood friction beneath the floor.
The correct material depends on the hardwood product and installation method. Engineered hardwood may require a specific underlayment for glue-down, floating, or nail-assisted installation. Using an unapproved underlayment can affect adhesion, floor height, sound, and warranty coverage.
This is also the time to plan transitions. Hardwood may meet tile, carpet, exterior doors, stair treads, or existing flooring in adjacent rooms. Knowing the finished floor height in advance prevents awkward thresholds and last-minute trim changes.
Let the Flooring Acclimate Under Real Conditions
Hardwood should be delivered only after wet work is complete. Drywall mud, paint, plaster, masonry work, and major moisture-producing projects should be finished and allowed to dry before wood flooring is brought inside.
Store the flooring in the rooms where it will be installed, with the HVAC operating normally. Acclimation is not simply leaving boxes in a room for a certain number of days. It is allowing the wood to reach the moisture condition recommended for that product and that home.
Wider planks, solid hardwood, and homes with inconsistent humidity often need more careful monitoring. Follow the flooring manufacturer’s instructions rather than relying on a one-size-fits-all timeline.
Preparation Is the Part You Should Not See
A completed hardwood floor should feel solid, look consistent, and fit naturally with the rest of the home. The best subfloor preparation is nearly invisible once the project is done, but it shows up every day in a quieter floor, cleaner lines, and fewer avoidable repairs.
If inspection reveals moisture, structural movement, or uneven framing, take the time to correct it before installation. Floor's Leader helps Atlanta homeowners coordinate hardwood flooring with the repairs and renovation work that make the finished space look right and perform the way it should.
Get a free quote from Floor's Leader.