
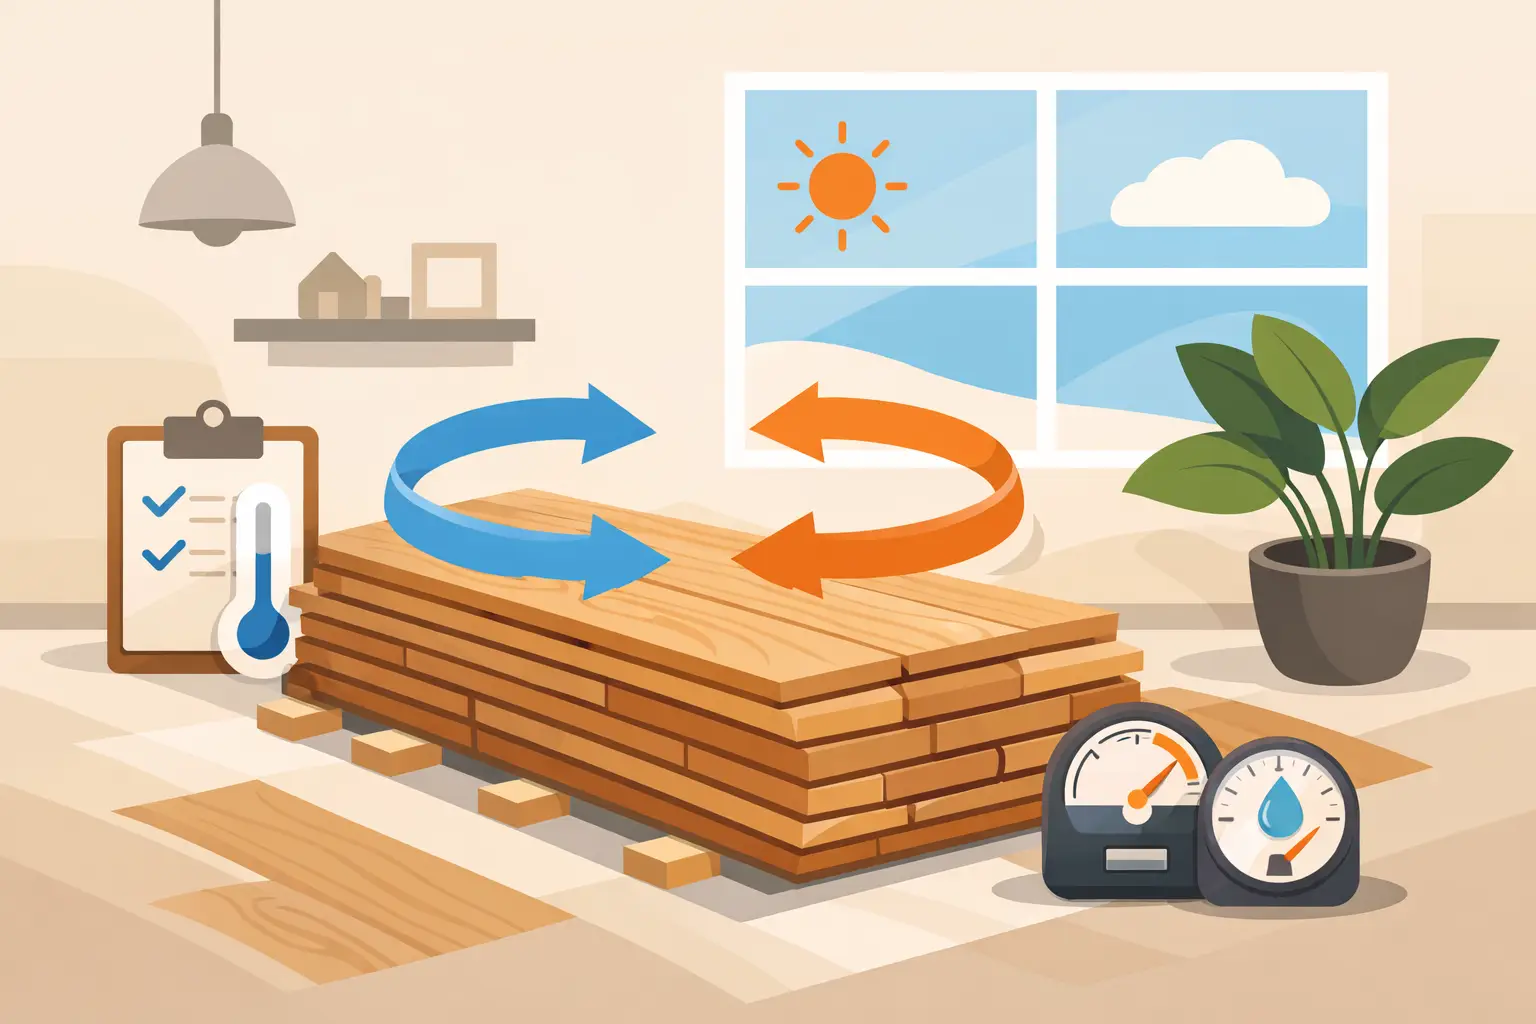
Hardwood can look perfect on installation day and still develop gaps, cupping, or raised edges weeks later if the wood was installed at the wrong moisture level. Knowing how to acclimate hardwood planks is one of the best ways to protect the look and long-term performance of a new floor, especially in Atlanta’s humid summers and changing indoor conditions.
Acclimation is not simply leaving unopened boxes in a room for a few days. The goal is to let the flooring reach a moisture content that is appropriate for the home, the subfloor, and the manufacturer’s installation requirements. Done correctly, it reduces unnecessary movement after installation. Done carelessly, it can create problems that sanding and refinishing will not fully solve.
What Hardwood Acclimation Actually Does
Wood responds to moisture in the air. When humidity rises, hardwood absorbs moisture and expands. When conditions become drier, it releases moisture and contracts. That movement is natural, but a properly prepared floor has room to move within normal seasonal changes.
Acclimation brings the planks closer to the moisture conditions they will live in after installation. It is especially relevant with solid hardwood, which moves more across its width than engineered hardwood. Wide solid planks deserve extra attention because even a small amount of movement across each board can add up across an entire room.
The right acclimation period depends on the species, plank width, construction, delivery conditions, subfloor moisture, and the manufacturer’s instructions. A fixed rule such as “three days is always enough” is not reliable. Some products require several days, while others have specific moisture-content targets or may arrive ready for installation when jobsite conditions meet the required range.
Prepare the House Before Bringing in the Flooring
Hardwood should acclimate in a finished, controlled environment, not in a house that is still dealing with wet drywall, fresh paint, open windows, or active construction moisture. The heating and air-conditioning system should be operating as it normally will after the project is complete.
For most homes, installers aim to maintain an indoor temperature around 60 to 80 degrees Fahrenheit and relative humidity within the flooring manufacturer’s recommended range. Many hardwood products perform best when indoor humidity stays roughly between 35% and 55%, but the product instructions take priority.
Before hardwood is delivered, finish all wet work. That includes concrete work, drywall mudding, textured ceilings, painting, tile setting, and any plumbing repair that could introduce moisture. If a kitchen remodel or another interior upgrade is part of the project, coordinate the flooring schedule so the home is dry and stable before the planks arrive.
The subfloor also needs to be clean, dry, flat, and ready for flooring. A wood subfloor with excessive moisture can feed moisture into the new planks from below. A concrete slab can do the same if vapor testing and moisture-control requirements are ignored.
Check Moisture Instead of Guessing
The most reliable way to acclimate hardwood is to measure it. Professional installers use moisture meters to check the hardwood and the subfloor before installation. Time in the room matters, but readings tell the real story.
For a wood subfloor, the flooring moisture content generally needs to be close to the subfloor’s reading. With solid strip flooring, a difference of about 4 percentage points or less is often acceptable. For wider solid planks, the acceptable difference is commonly tighter, often around 2 percentage points. Engineered hardwood has different tolerances, so follow the product specifications.
Concrete requires its own testing method. Depending on the flooring and adhesive system, the installer may use relative humidity testing, calcium chloride testing, or another manufacturer-approved method. A moisture barrier or approved adhesive may be required, but no underlayment or adhesive should be treated as a shortcut around an overly wet slab.
Checking conditions matters in Atlanta homes with crawl spaces as well. A damp crawl space, poor drainage, missing vapor barrier, or plumbing leak can affect flooring from underneath. Fix the source of moisture before installing hardwood. Otherwise, the floor may continue reacting long after acclimation is complete.
How to Store Hardwood Planks for Acclimation
Bring the hardwood into the rooms where it will be installed whenever possible. A climate-controlled garage, basement, or storage area is not a substitute if its temperature and humidity differ from the finished living space.
Keep cartons flat and supported across their length so planks do not bend or sag. Do not stand boxes upright against a wall. Keep them off concrete and away from exterior walls, direct sunlight, supply vents, and areas where water could reach them.
Whether to open the cartons depends on the manufacturer’s directions. Some flooring is designed to remain packaged while it adjusts to the jobsite. Other products may require cartons to be opened or the boards to be loosely stacked with spacers between layers. Opening every package immediately without checking the instructions can expose the material to dust, damage, or uneven moisture conditions.
If loose stacking is required, distribute the planks so air can reach more than just the top carton. Avoid piling all flooring in one tight stack in the center of the room. The wood needs consistent conditions, not rapid drying on one side and restricted airflow on the other.
Give It the Right Amount of Time
Most homeowners hear that hardwood needs 72 hours to acclimate. That may be enough in a stable home with properly conditioned materials, but it is not a universal answer. A shipment that arrived from a much drier or wetter environment may need longer. A home that has just been closed up after renovation may need its humidity stabilized before the flooring begins acclimating at all.
A better approach is to let the material remain in the conditioned home until moisture-meter readings meet the manufacturer’s requirements. This avoids two common mistakes: installing too soon because the calendar says it is time, or waiting unnecessarily while the floor sits in a space with poor humidity control.
Do not try to speed up the process with intense heat, fans aimed directly at the wood, or by opening windows during humid weather. Fast, uneven changes can create stress in the planks rather than properly conditioning them.
Common Acclimation Mistakes That Lead to Floor Problems
A hardwood floor can still move seasonally after proper installation. The concern is preventable movement caused by poor site conditions or skipped preparation. Watch for these common issues:
- Installing flooring before the HVAC system is running consistently.
- Acclimating planks in a garage, basement, or storage space instead of the finished room.
- Ignoring subfloor or concrete moisture readings.
- Leaving flooring near open windows, direct sun, damp exterior walls, or active vents.
- Assuming every species and every plank width follows the same acclimation timeline.
- Installing over a damp crawl space or unresolved water issue.
Cupping, where board edges rise higher than the center, often points to excess moisture underneath the flooring. Crowning, where the center rises higher than the edges, can happen when a cupped floor is sanded before it has fully dried. Gaps can appear when flooring is installed too wet and later dries out. These conditions are not always caused by acclimation alone, but improper moisture management is frequently part of the problem.
Acclimation Is Only One Part of a Stable Installation
Even perfectly acclimated hardwood needs the right installation method, expansion space, fasteners or adhesive, underlayment, and transition details. The floor must also fit the room’s use. A busy family room, kitchen-adjacent area, or home with pets may call for a different species, finish, width, or engineered construction than a low-traffic formal space.
This is where professional planning helps. An installer can evaluate the subfloor, test moisture, account for Atlanta’s seasonal humidity, and determine whether solid or engineered hardwood is the better fit for the room. Floor's Leader approaches hardwood as part of the overall home, whether the work connects to a kitchen update, a full interior renovation, or a refreshed living space.
A new hardwood floor should feel like a finished part of the home, not a material waiting to react to it. Set the indoor conditions first, verify moisture readings, and let the planks adjust on their own schedule. That preparation gives the craftsmanship beneath the surface the same attention as the finish everyone sees.
Get a free quote from Floor's Leader.